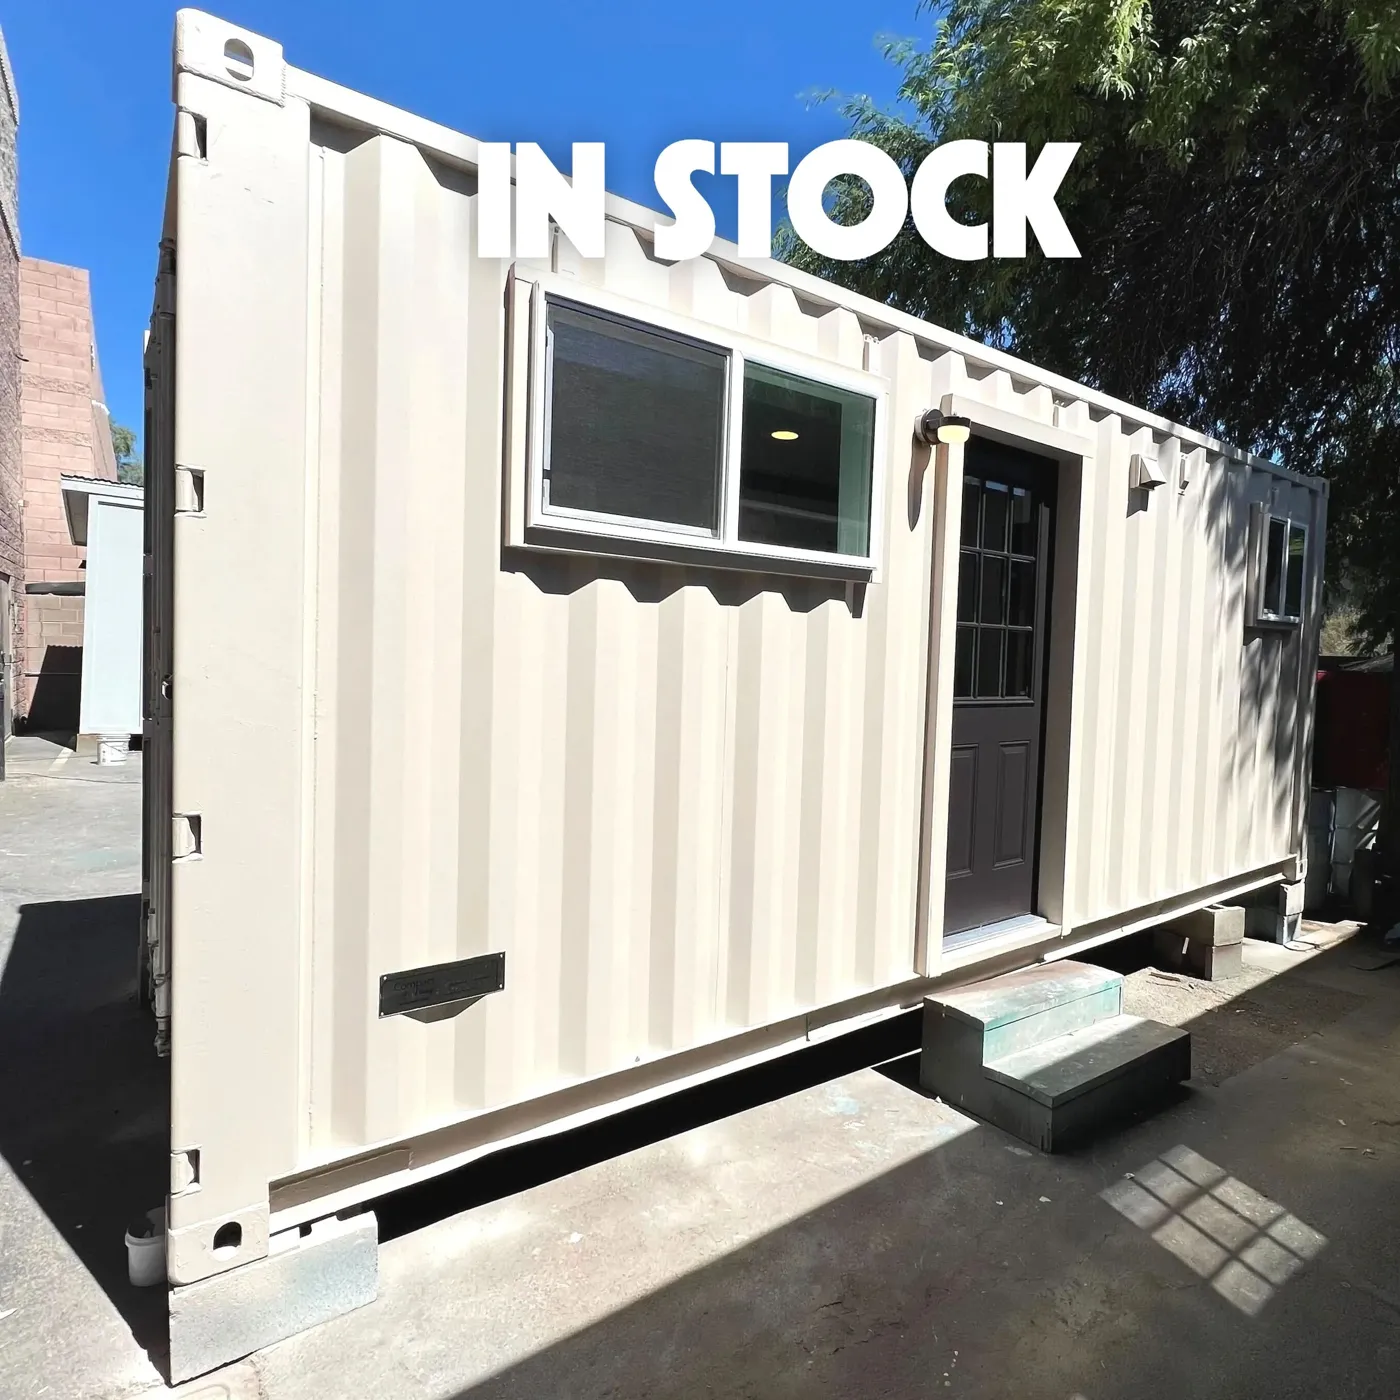
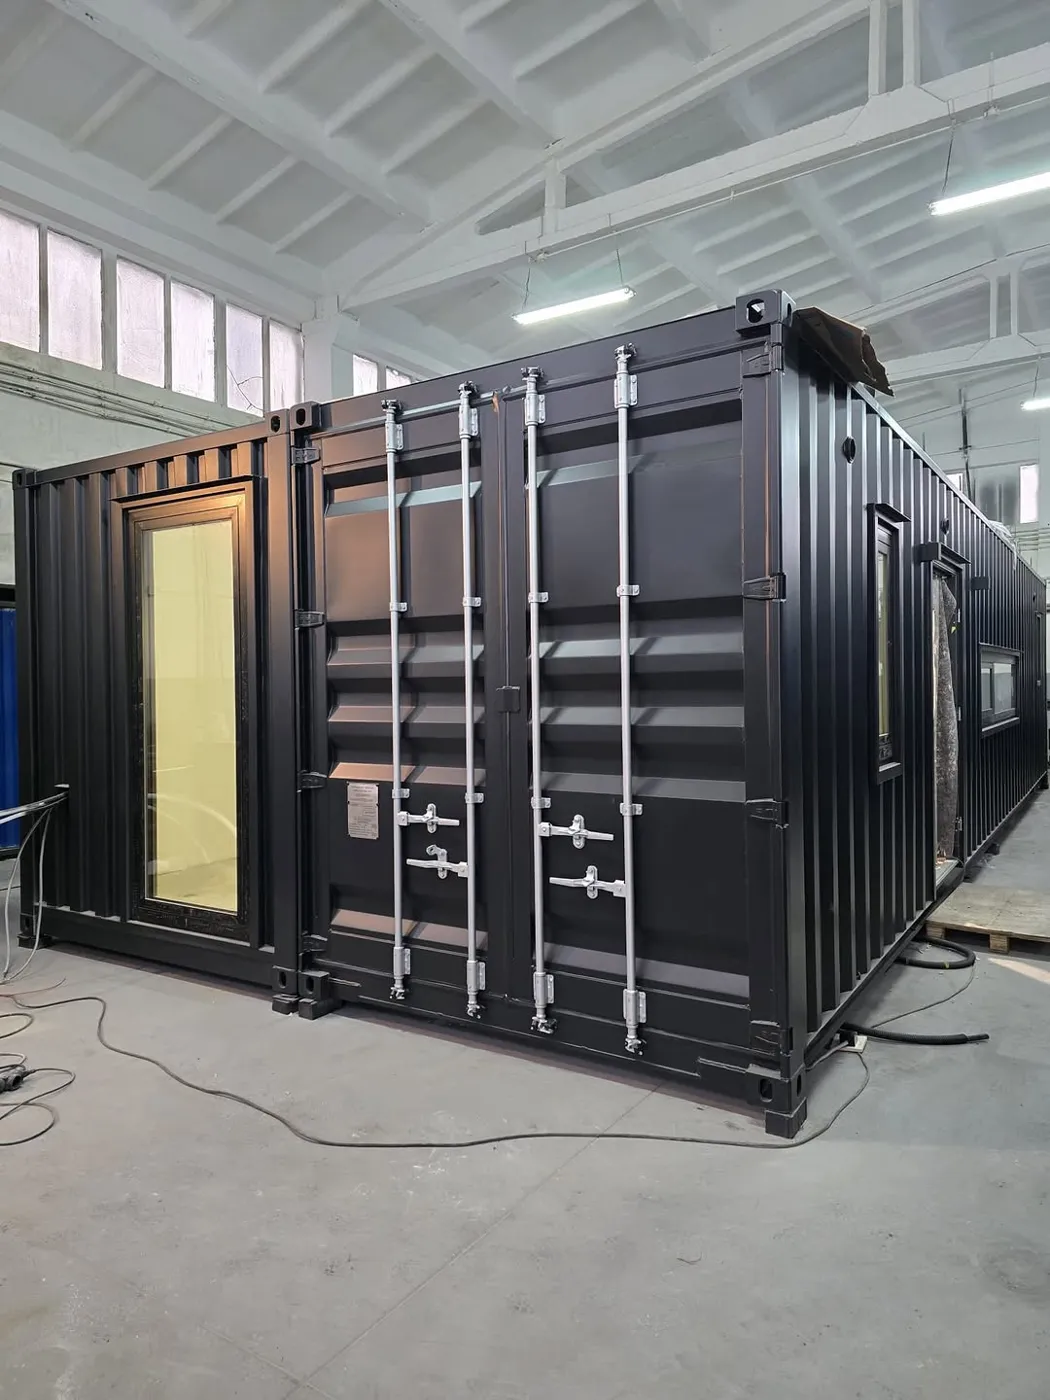
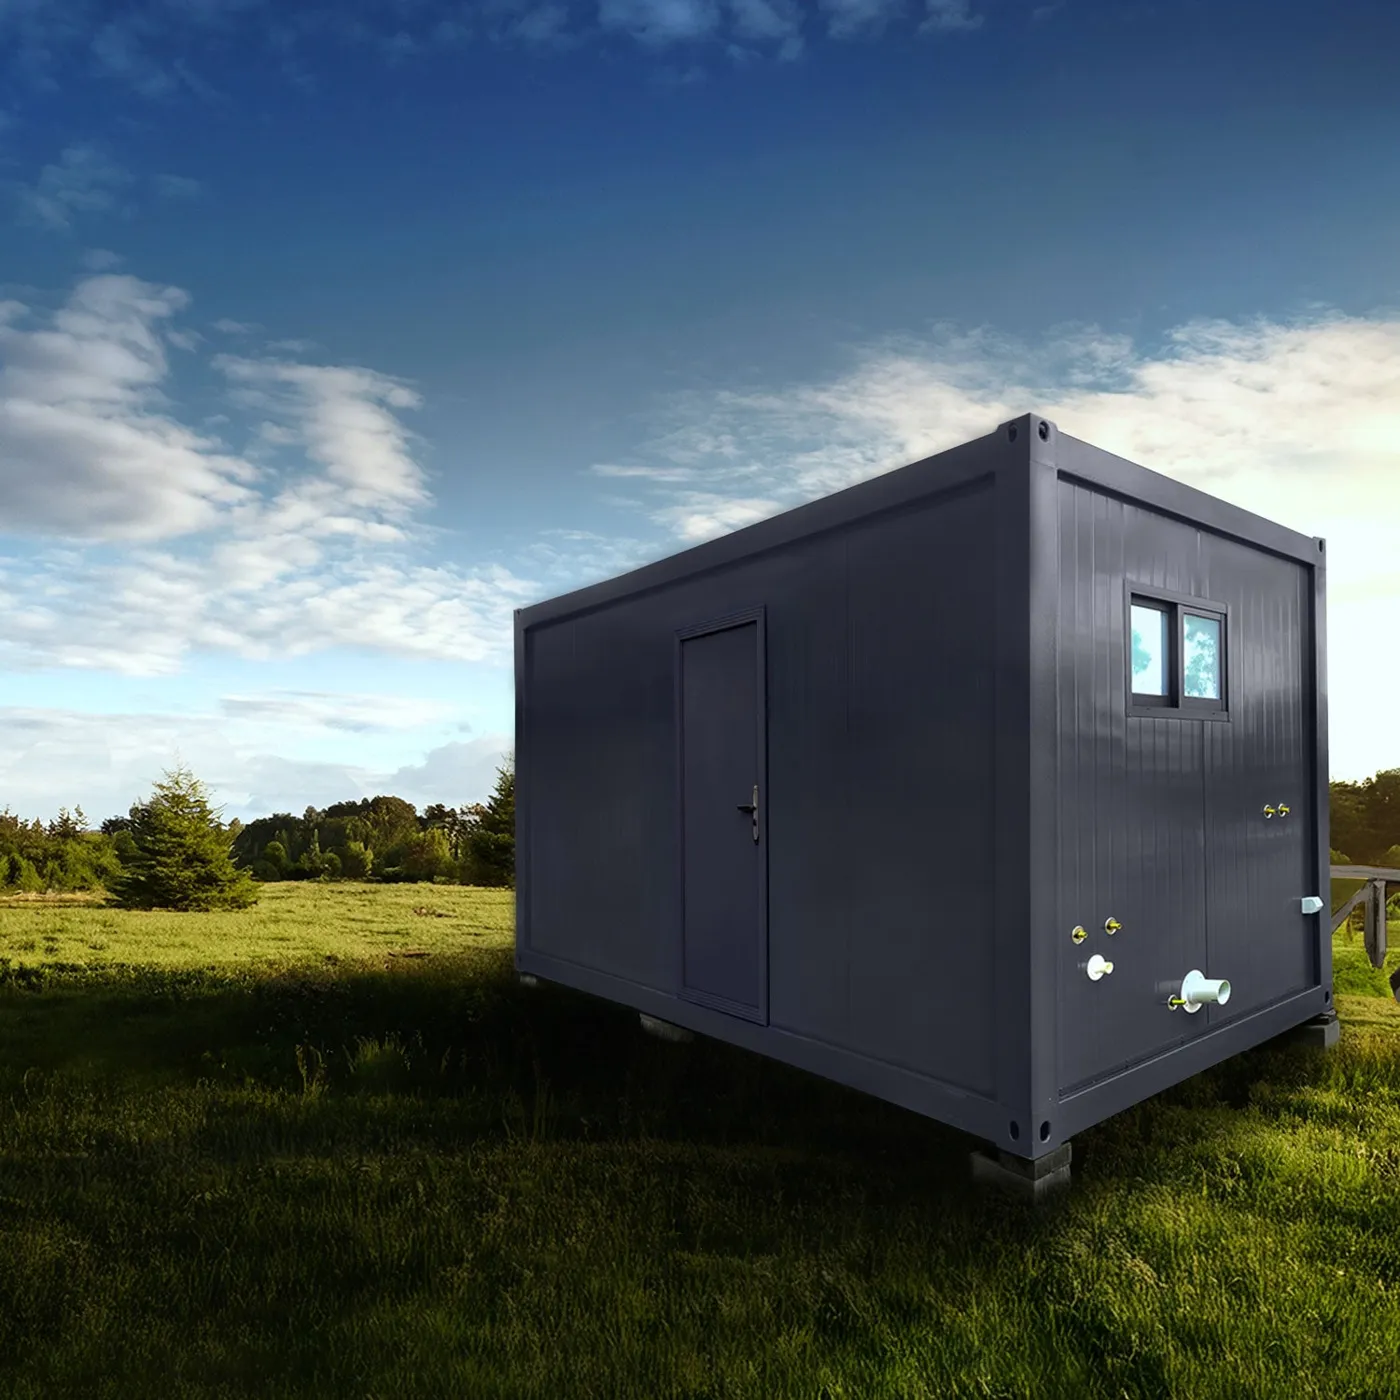
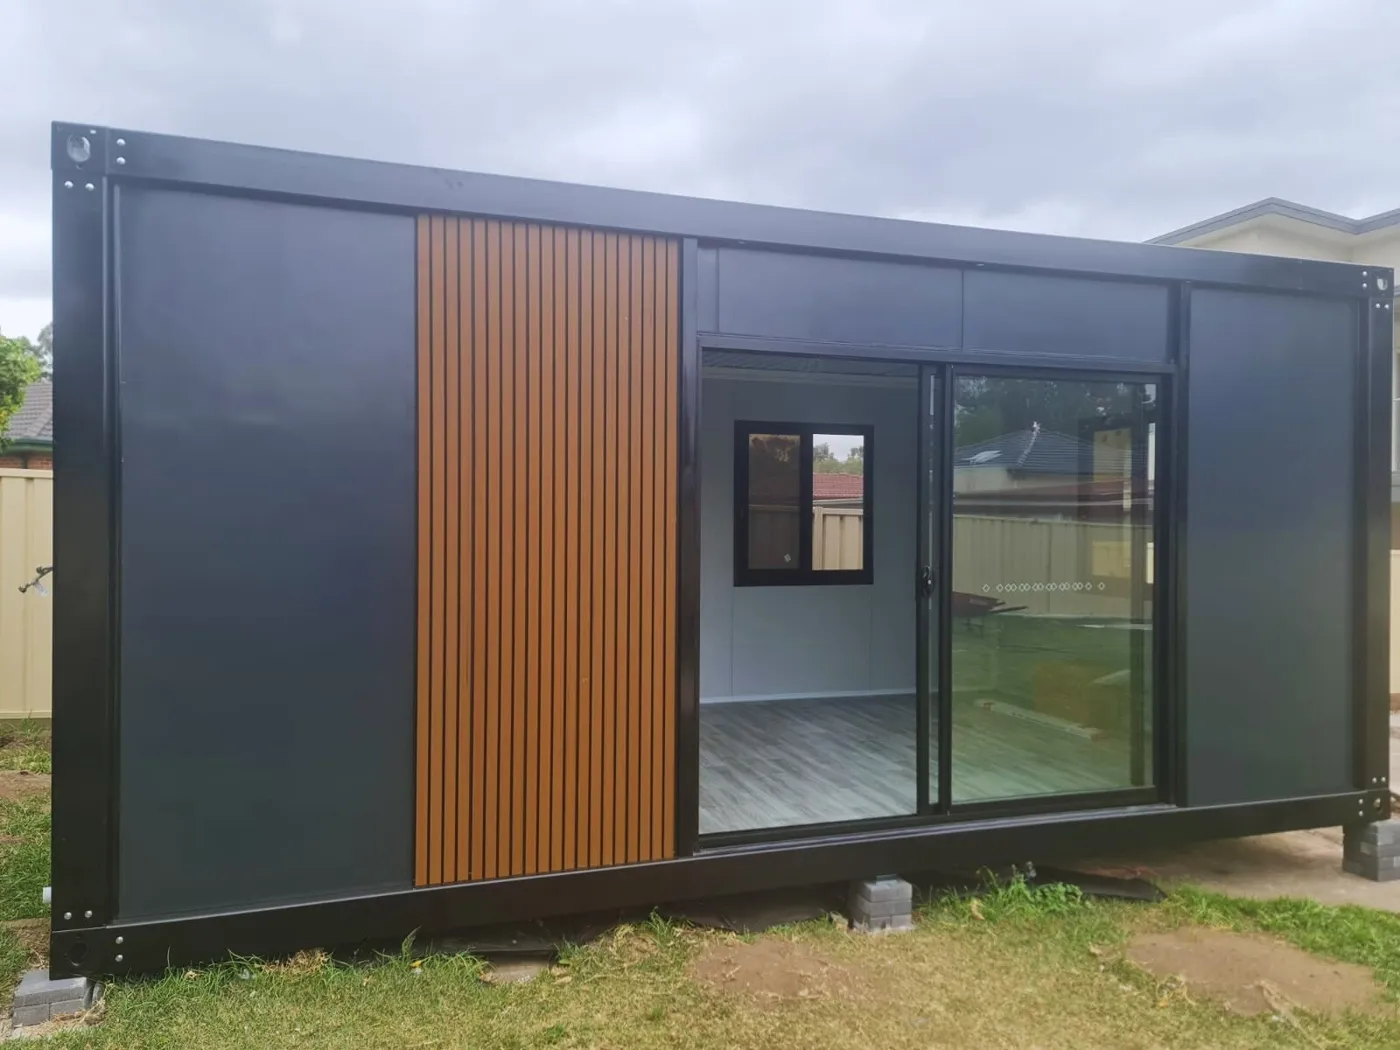
 6m Container Home with Flexible Installation – Build On-Site or Deliver Built
 40Ft Prefab Living Tiny Modular Shipping Container Home
Why containers sweat
Warm, moist air inside the container meets cold steel and the moisture condenses out of it. In an uninsulated unit in winter that happens on the ceiling and walls, and it drips. People call it container rain, and it is not a fault in the unit — it is physics working exactly as it should on a thin steel shell with a temperature difference across it. The fix is not a better container; it is a better assembly.
Keep the warm air off the steel
The principle behind every successful cold-climate conversion is simple: do not let humid interior air reach the cold steel. Closed-cell spray foam applied directly to the inside of the shell does this well because it insulates and acts as its own vapour control in one operation, with no gap for air to circulate in. Batt insulation in a stud frame can work, but only with a properly detailed vapour control layer on the warm side and no air paths around it. A partial job is often worse than none, because it moves the condensation somewhere you cannot see it.
Thermal bridges
The corrugations, the corner posts and any steel framing you add will conduct cold straight through the insulation. Those cold lines are where condensation and mould appear first, usually at the junctions. Continuous insulation on the inside face, rather than insulation packed between steel members, is what controls this. Pay particular attention to the roof and to the frame around any opening you cut.
Ventilation is not optional
Insulation stops the heat moving; it does not remove the moisture people and appliances generate. An occupied space needs a way to get humid air out — mechanical ventilation at minimum, with heat recovery if you want to keep the warmth. For an unheated storage container, passive vents help enormously and cost almost nothing. Sealing a container up tight without ventilation is a reliable way to grow mould.
The floor
Original container floors are typically heavy plywood on steel cross-members, and the underside is exposed to outside air. Insulating above the existing floor costs headroom; insulating below keeps it but has to be detailed so it stays dry and ventilated. Decide this early, because it affects the finished floor level, the door thresholds and the headroom you have to work with — which is where the ceiling-height decision comes back around.
Openings
Every window and door you cut is a hole in both the insulation and the structure. Frame them properly, insulate and seal around them, and detail the head so water sheds outward rather than tracking back in. Structurally, openings in the side walls need engineering for anything occupied, since those walls carry load.
Get the sequence right
Structural modifications and openings first, then insulation, then services, then interior finishes. Trying to add insulation around services that are already installed produces gaps, and gaps are where condensation starts. Settle the full specification before fabrication rather than deciding as you go.
Find your next configuration.
Compare the equipment details, then tell Northern what your project needs.
Explore equipment